Have you ever wondered why the photos you get printed never seem to look like what’s on your computer screen? In some cases you might have spent hours meticulously editing the photos to look just right and then you get them printed and they look horrible. Well there is a fix for that and it’s really not that hard!
Colors, in the digital world are represented by a number. Computer monitors, scanners, and printers all use some number to represent a color and basically what happens is that they all see the colors slightly differently. So what is a navy blue on your screen might be interpreted as a dark blue - almost black - to your printer. Now your next question is "how do I fix this?" Well the answer can be really simple or it can be pretty complicated. There are these .icc files that are called "color profiles" that are specific to each printer/paper combination and basically what they do is act as a translator and make corrections to the files when you print so that what you see on your screen is what gets printed.
Now why I say this can be simple or complex depends on if you want to invest in some hardware and what printer or print house you want to use. The first step is to calibrate your monitor. There are some devices out there that will do this for you automatically and can be pretty reasonably priced. The Pantone Huey Pro is one that I have used and I have had great luck with it. You can get it from Amazon HERE and it will run you about $75. There are also more professional ones that can run a few hundred dollars but I will leave the research up to you.
The next step is to find the color profiles for the printer that you are going to use. If you are printing at home your best bet is to go to the printer manufacturer such as Epson, Canon or HP. However, their profiles are typically only good when using their paper (not surprisingly), but Canon has shocked me and offered a number of profiles for third party papers. See links to their websites below. Red River is a third party paper manufacturer and has some profiles HERE. If you are dead set on using some unique paper/printer combination you may have to make your own profile but that is a bit more involved and beyond the scope of this post.
EPSON
CANON (they also provide color profiles in their software, but also have them for 3rd party papers with Canon printers)
A lot of people, myself included, don't make a lot of prnts so they don't own a fancy printer and would rather get them printed at a print-house. In this case you can see if they have their color profiles available online. I often use Adoramapix because they do make their .icc files easily available online HERE. Costco is also known for having color profiles for most if not all their stores. Go HERE and use the index on the left to select your state and you can find a number of different places that have their icc files available for download.
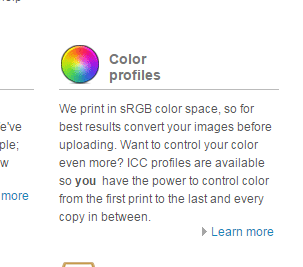
For Adorama, when you go to their site click here on the color profiles section shown below:
Then you will see this and select the types of papers you will be using. I typically use glossy, but I also downloaded the matte one just in case.

From here on out I am going to be focusing on Lightroom since its what I know. Photoshop will be somewhat similar. If you are using a different photo editing software you can probably go into the help section and type "color management" or "color profiles" to get you on the right path.
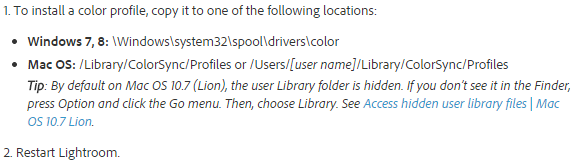
Now to load the profiles into Lightroom you have to copy the files to a specific location. You can visit the Lightroom help HERE but I took a screenshot the directions that you can see below.
Here the directions diverge depending if you are printing at your house or getting them printed somewhere else.
Print at a Store
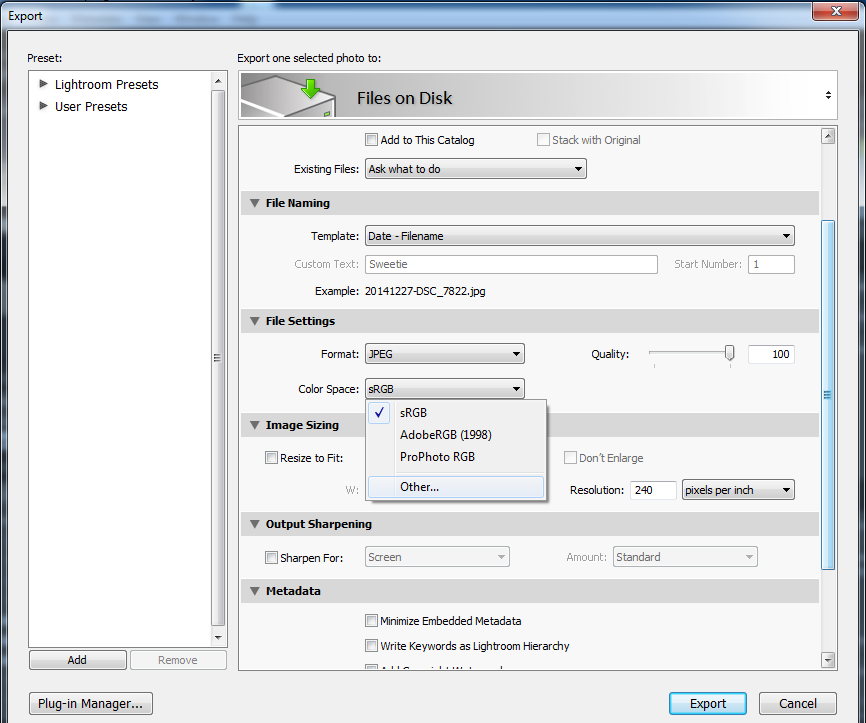
After you are done editing the files you will need to export them and when doing so embed the color profiles directly into the file. In Lightroom you export as you normally would except under FILE SETTINGS, COLOR SPACE, you drop down and select OTHER. See below.
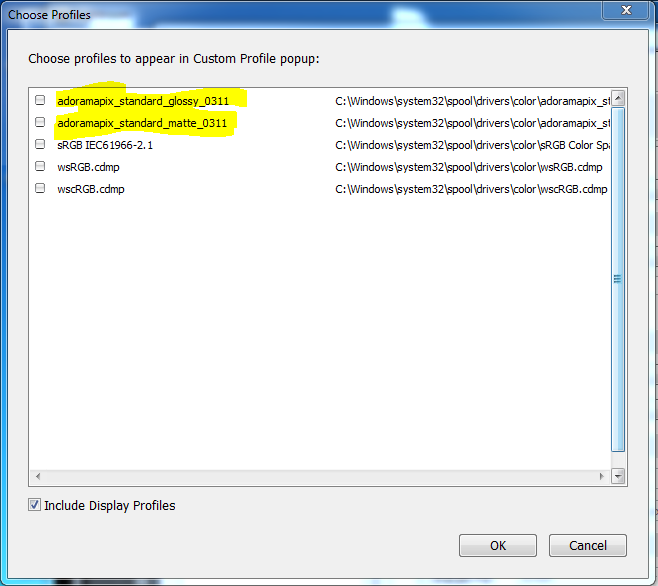
The screen below will pop up. I highlighted the Adoramapix color profiles just so they stand out. Select the one appropriate for the paper finish you want to use and hit OK.
Now when you go back to your Export Screen you will see this below - highlighted yellow.

Just a side note - when I export files that have a specific color profile imbedded into them, I usually put them in their own special folder like "Photos - Adorama" or some such so that know not to use these somewhere else because they may not print right. Next is to then upload them to Adoramapix or Costco or put them on a thumb drive and take them to the print shop.
One last important step - if you upload the prints there is a step or setting that you have to make sure you find. On the Adoramapix site it looks like this:

Assuming you have a calibrated monitor your prints will be pretty much spot on. Even if you monitor isn't calibrated it probably gets you a bit closer than you were.
Now if you are using your own printer the process is a little different. Again, this is for Lightroom - go to the Print tab and in the menu on the right scroll down to the bottom. You will see the image below (minus the red circles :-)) In the color management, profile, select the printer profile that you need to use. Highlighted in yellow and circled in red there is a warning that you need to turn off the color management in the printer settings too - otherwise this will all be for not. I can't help you with the printer settings since they can vary but buried in there is something that tells the printer not to mess with your files.

Anyways - hope this helps and if you have any questions please post them in the comment section below. I would also appreciate it if you followed me on this blog.


